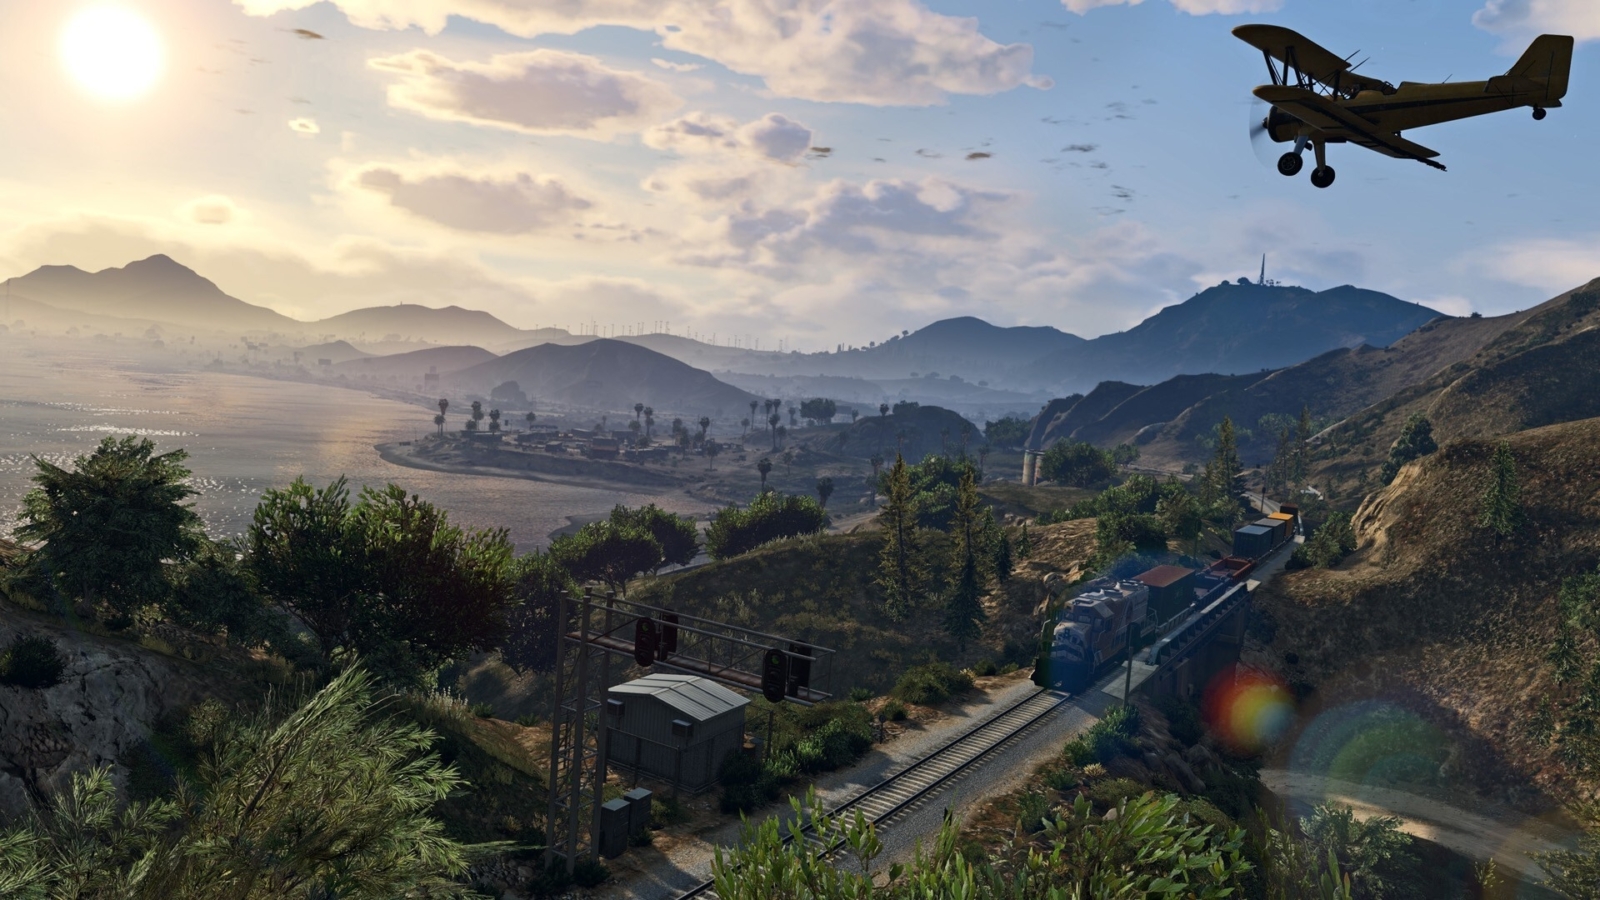
How to Set Up Your FiveM Server with txAdmin
Setting up your FiveM server has never been easier. Follow this step-by-step guide to configure your server, set up txAdmin, and get started quickly.
Minecraft is a creative video game that lets players unleash their imagination and create their own worlds. One of the things players can do to improve their gaming experience is to change their skin. In this blog article, we’ll talk about how to change your skin in Minecraft.

A skin is the appearance of your character in Minecraft. When you first start the game, you have a default skin called Steve or Alex. However, there are a variety of skins that you can choose from to improve your gaming experience. Skins can be created and shared on various platforms such as the official Minecraft Marketplace, third-party websites or even by other players.
There are several ways to change your skin in Minecraft, depending on the platform you play on. Below are the steps you need to follow to change your skin on most platforms:
Step 1: Choose your new skin
The first thing you need to do is choose a new skin. You can do this by either downloading a skin from the official Minecraft Marketplace or finding a skin on a third-party website. You can also create and upload your own skin if you prefer.
Step 2: Download the skin or save it to your computer
Once you’ve found your new skin in the official Minecraft Marketplace, you simply need to download it. If you found a skin on a third-party website, you’ll need to save it to your computer. Make sure you save the skin to a location that you can easily find later.
Step 3: Open the skin editor
Once you have logged into Minecraft, you will need to open the skin editor. You can do this by clicking on “Skins” in the main menu and then clicking on “Select Skin” or “Edit Skin”.
Step 4: Upload your new skin
Once you have opened the skin editor, you can upload your new skin. Simply click on the “Upload Skin” button and then select the skin that you have previously downloaded or saved. If you have created your own skin, simply select the file on your computer.
Step 5: Save your new skin
Once you have uploaded your new skin, you need to save it. To do this, simply click the “Save Skin” button and your new skin will automatically be applied to your character.


There are a lot of great websites where you can find skins created by the Minecraft community. The biggest of them is Skindex. Many skins are created, uploaded and liked here every day. Just have a look around or use the search function to find a specific skin. Here you will find everything your heart desires.
And if not, Skindex even gives you the possibility to create your own skins. In the editor you get a Minecraft player as a template. With various drawing tools and a wide range of colors, you can give free rein to your creativity.
With the download button, the skin is then output in the appropriate image format so that you can upload it directly to your Minecraft client and use it. If you want to share your masterpiece with the public, you can also upload the skin directly to Skindex.
If you run into someone while playing online with a great skin that you really want to have, the Grabber will help you out. With this tool you can enter the player name of a person and get their skin displayed and you can use it.
And that’s it! You’ve successfully changed your Minecraft skin and are ready to show off your new look to all your friends. But wait, there’s more! Here are some additional tips and tricks to help you take your Minecraft skin game to the next level:
We hope this guide has been helpful in showing you how to change your Minecraft skin. Now, go forth and unleash your inner fashionista!

Setting up your FiveM server has never been easier. Follow this step-by-step guide to configure your server, set up txAdmin, and get started quickly.

Effortlessly automate your game server with schedules. Learn how to set up Cron timings and assign tasks like sending commands, restarting, or creating backups for seamless server management.

Want to continue your progress on your Farming Simulator 25 server? Here’s how to upload your save game: