Are you ready to dive into the world of Core Keeper with your own server? This guide will walk you through how to connect to your Core Keeper server, whether you’re playing solo or with friends. Follow these simple steps to get started!
Step 1: Start Your Server
First, log in to our hosting panel to start your Core Keeper server. Once logged in, navigate to the Console tab. Here, you’ll be able to view the real-time status of your server.
Step 2: Copy the Game ID
When your server has fully started, you will see the Game ID displayed in the Console. This Game ID is essential for connecting to your server, so be sure to copy it.

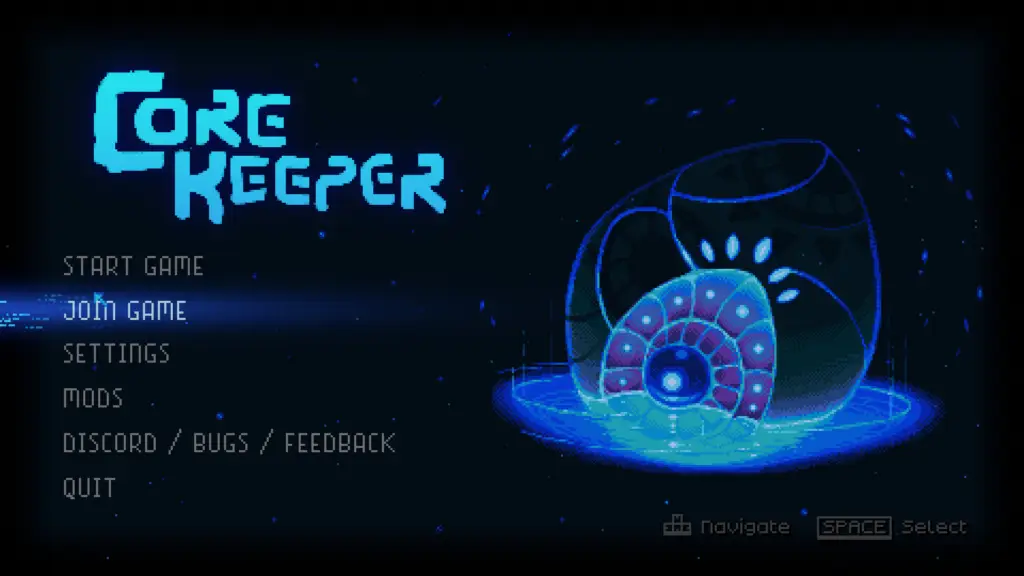
Step 3: Open Core Keeper and Join Game
With the Game ID ready, open Core Keeper on your PC. From the main menu, click on Join Game.
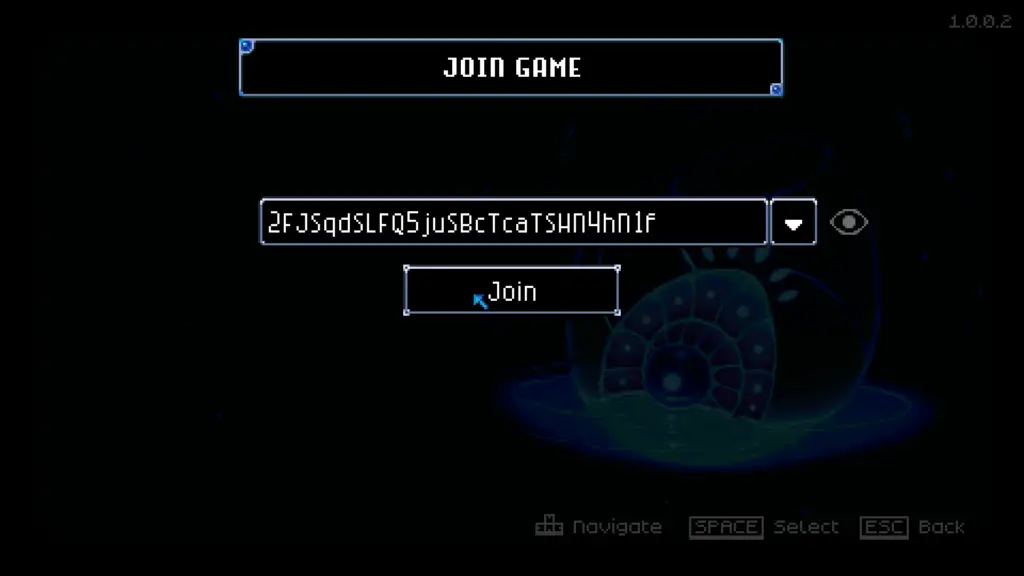
Step 4: Enter the Game ID
Now, enter the Game ID you copied from the server Console in the designated field. After inputting the ID, simply click on Join to connect to your server.
FAQs About Connecting to Your Core Keeper Server
Q: How do I know if my server is fully started?
A: Once your server is ready, the Game ID will appear in the Console tab. This indicates the server has successfully launched.
Q: Can I change my Game ID later?
A: Yes! You can update your Game ID anytime through the server settings. Just remember to restart your server to apply the changes.