Setting up your FiveM server has never been easier. Follow this step-by-step guide to configure your server, set up txAdmin, and get started quickly.
Step 1: Access Your Server Dashboard
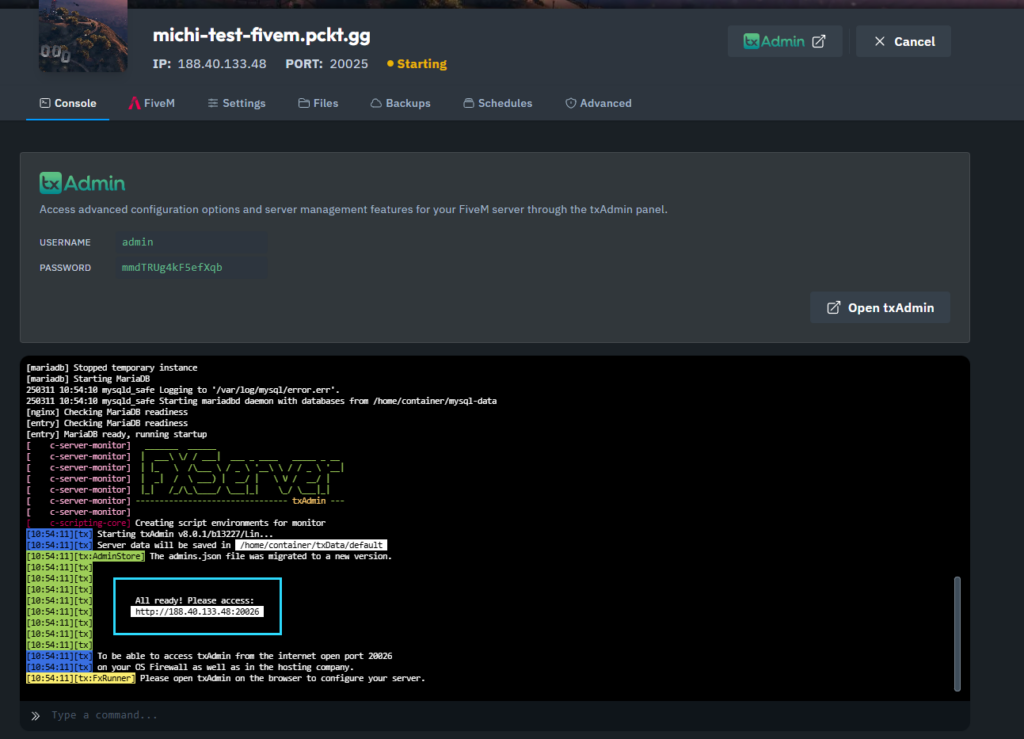
After ordering your server, navigate to the Dashboard. Here, you will find two txAdmin buttons. Click on either of them to proceed to the txAdmin login page. Your login credentials will be displayed in the dashboard.
Step 2: Login to txAdmin
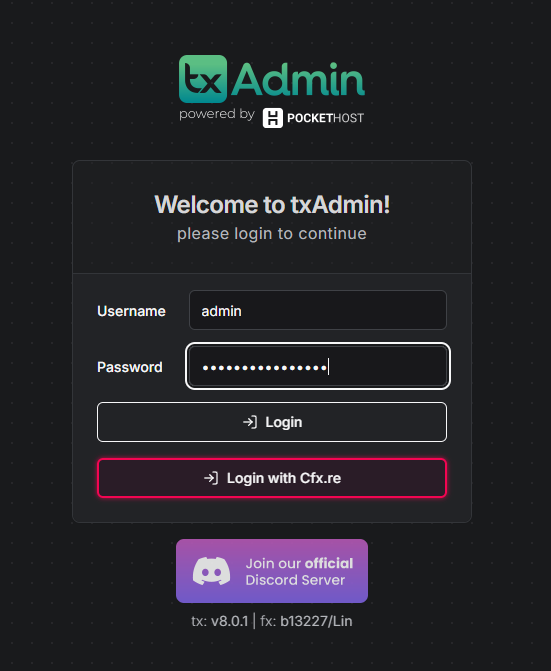
Use the credentials from the dashboard to log into txAdmin. Once logged in, you’ll gain access to the server management panel.
Step 3: Enter Your Server Name
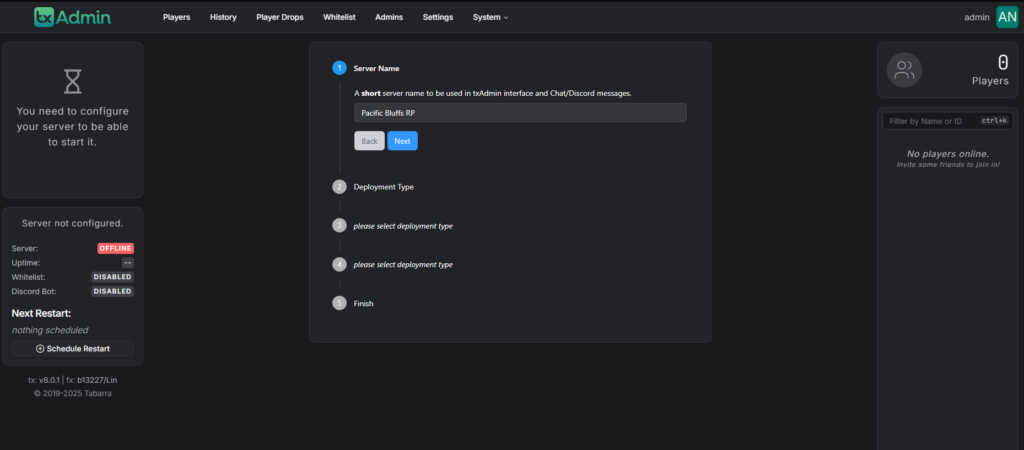
In the txAdmin setup, you’ll be prompted to enter your server name. This name will be displayed in the server browser and should be unique and easily recognizable.
Step 4: Choose Deployment Type
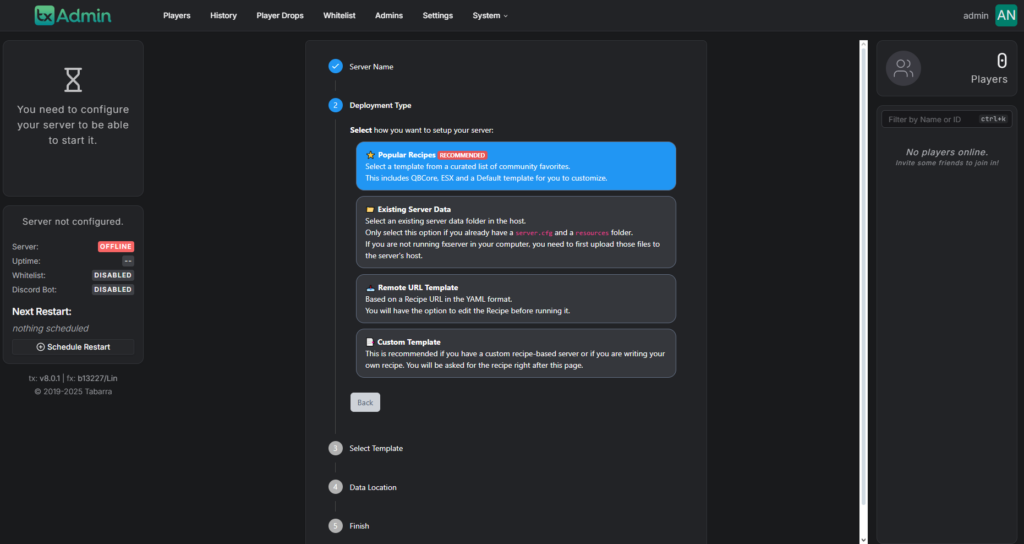
Next, you’ll need to select your deployment type. There are multiple options available:
Popular Recipes (Recommended) – Choose from curated templates.
Existing Server Data – Use this if you already have server files.
Remote URL Template – Load configurations from an external URL.
Custom Template – Create your own unique setup.
For most users, Popular Recipes is the best choice.
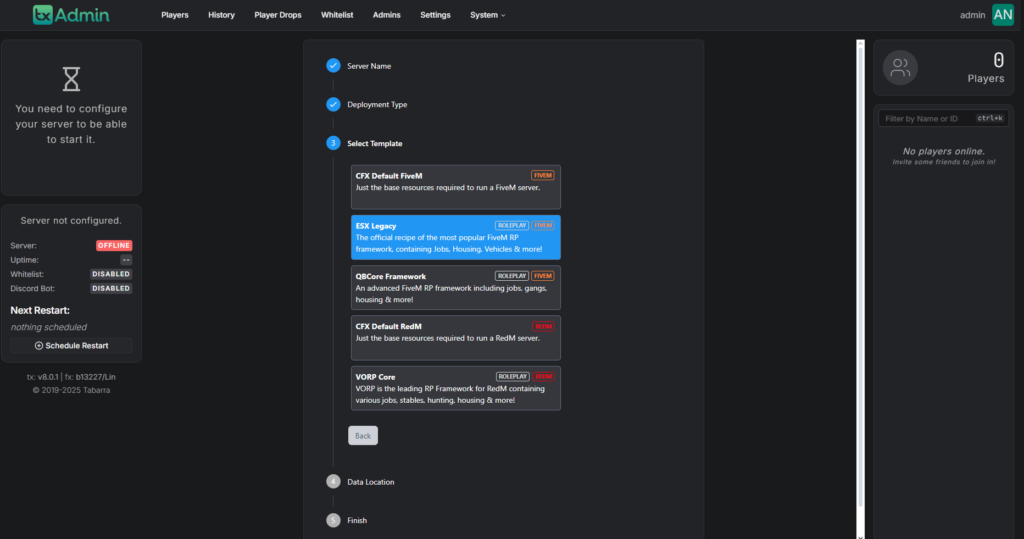
Step 5: Choose Your Template
Now, select your server template:
CFX Default – Basic FiveM setup.
ESX Legacy – A popular RP framework with jobs, housing, and more.
QBCore Framework – Another RP framework with extensive customization options.
RedM Templates – If you want to set up a RedM server instead.
Choose the template that best suits your needs.
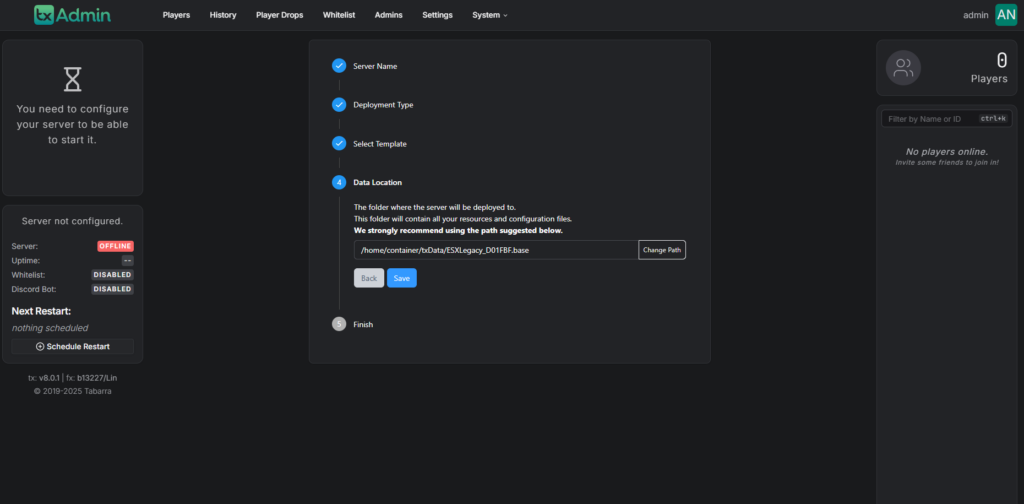
Step 6: Set Data Location
The Data Location Path defines where your server files will be stored. It’s recommended to use the default path suggested by txAdmin.
Click Save and proceed to run the recipe.
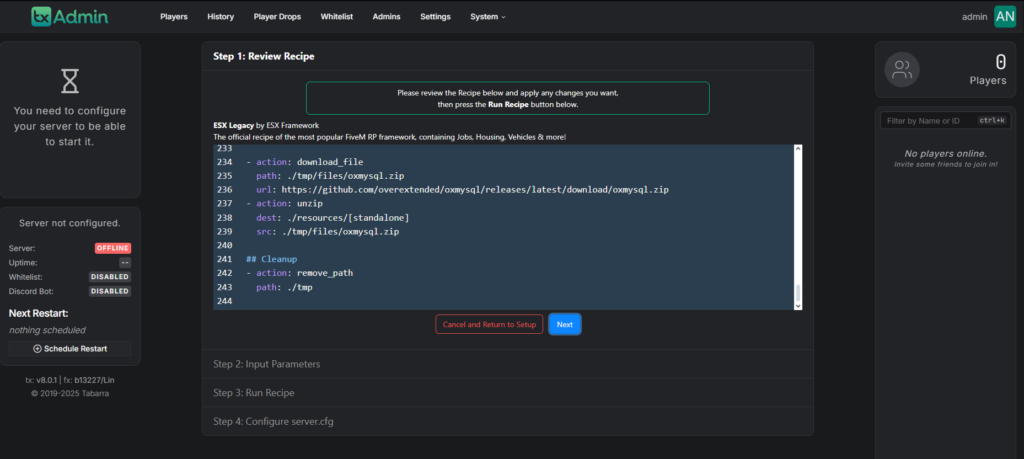
Step 7: Review the Recipe
Before running the installation, you’ll have a chance to review the recipe. This includes all the necessary files and configurations that will be installed.
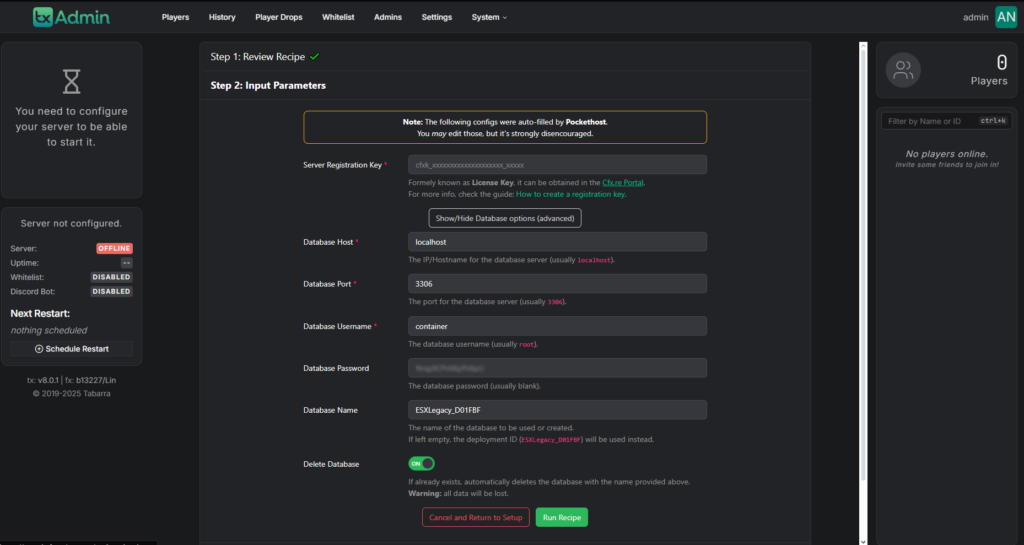
Step 8: Obtain Your Server License Key
To run your server, you need a server license key. Click the provided link in the txAdmin panel to go to the Cfx.re portal, where you can generate your key.
Below this, you’ll see the database configuration, which is automatically filled in for you.
Step 9: Log into the Cfx.re Portal
If you don’t already have an account, create one on the Cfx.re portal and log in.
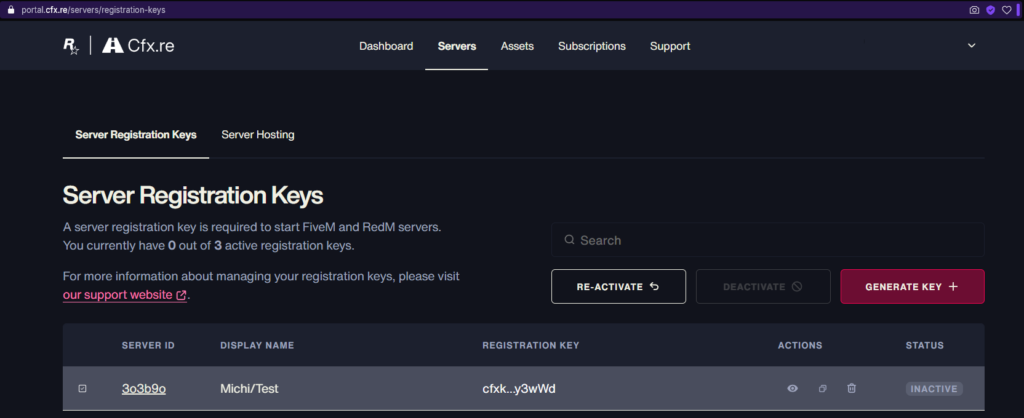
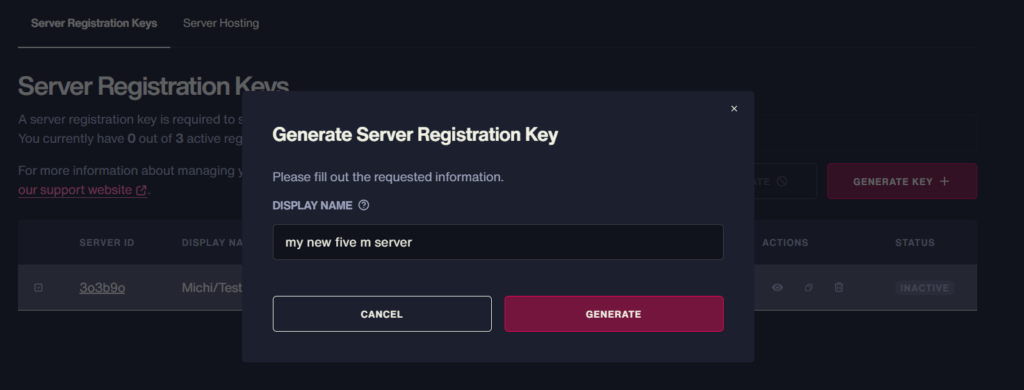
Step 10: Press “Generate Key”
After logging in, enter a Display Name for your key and then click the “Generate” button.
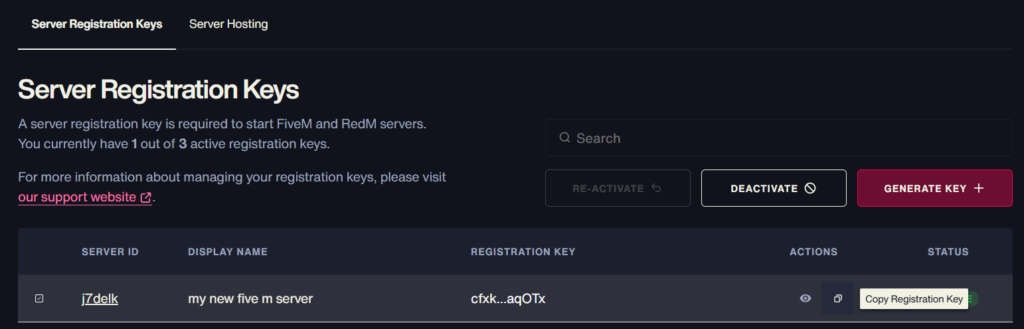
Step 11: Copy Your Registration Key
Once generated, copy your Registration Key to use in the txAdmin panel.
Step 12: Paste the Registration Key in txAdmin
Navigate back to txAdmin and paste the Registration Key into the appropriate field.
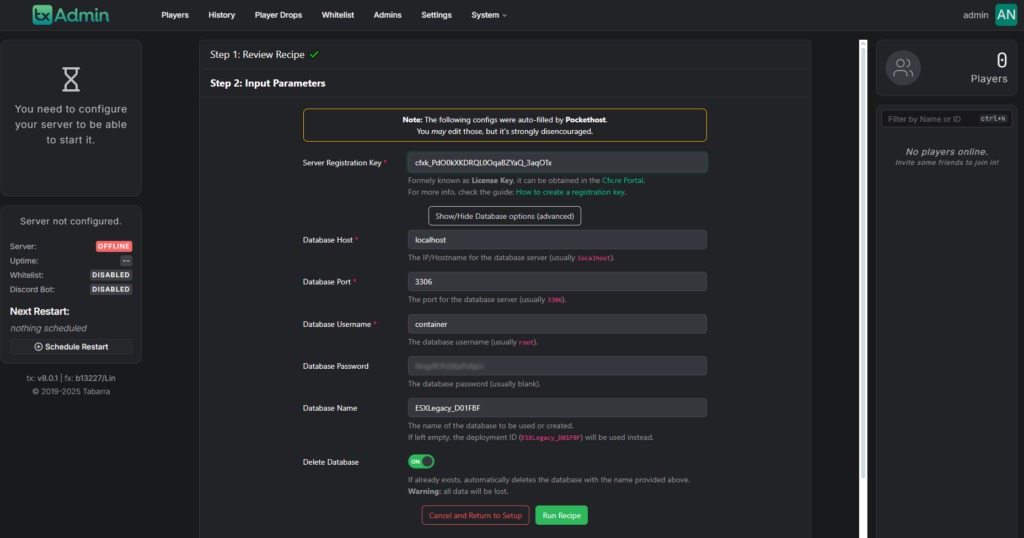
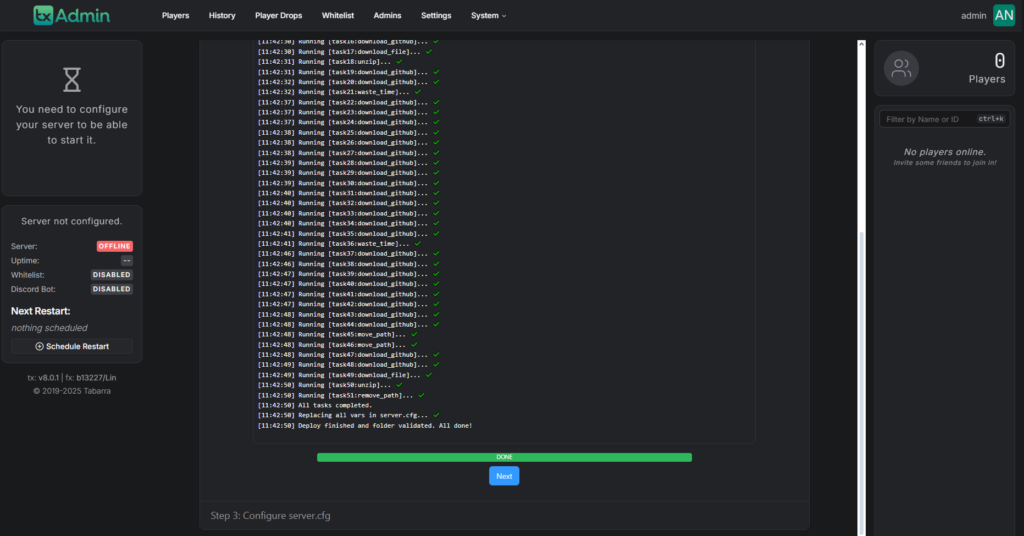
Step 13: Click “Run Recipe”
Click Run Recipe, and wait for the process to complete. Once finished, press Next.
Step 14: Review Your Server Configuration
Look over the server.cfg file. If everything looks good, proceed by clicking Save & Run Server.

Step 15: Check Your Server Dashboard
In your Server Dashboard, you will now see a Join button next to your internal server name. Click on it to connect to your server.

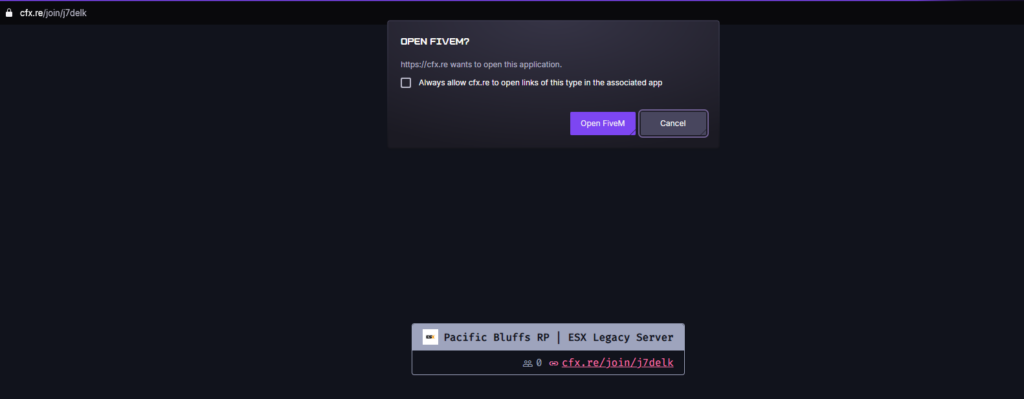
Step 16: Connect to Your Server
Click Join to open FiveM automatically, or copy the connection link to share it with others.
Step 17: Enjoy Your Server!
That’s it! Your server is now up and running. Invite your friends and start playing!