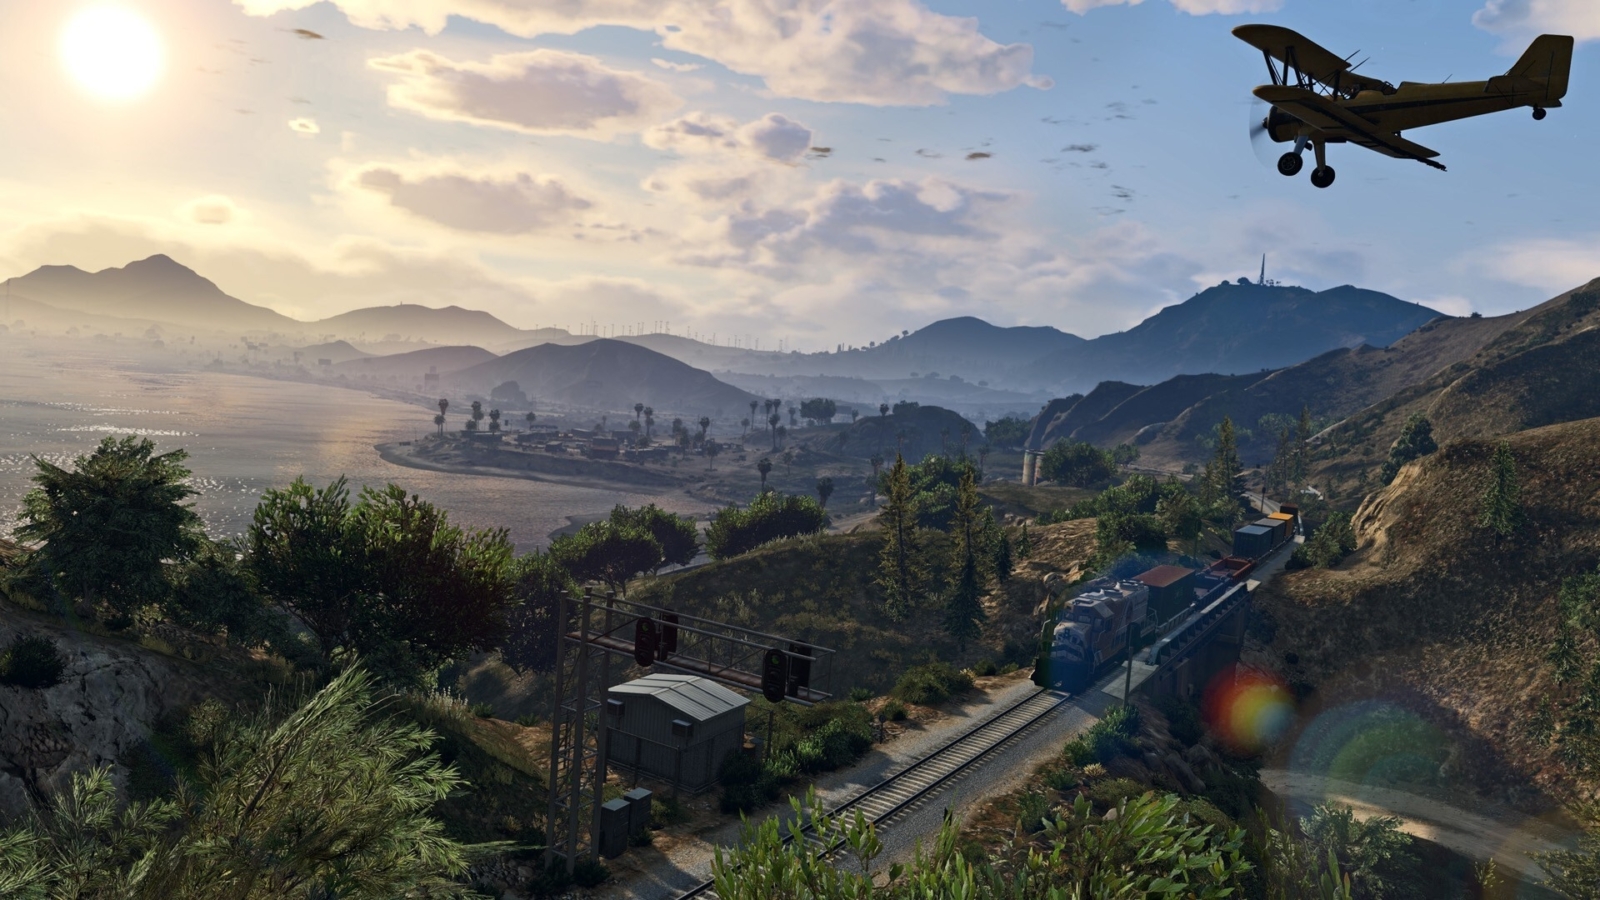
How to Set Up Your FiveM Server with txAdmin
Setting up your FiveM server has never been easier. Follow this step-by-step guide to configure your server, set up txAdmin, and get started quickly.
Terraria is an immensely popular sandbox adventure game that allows players to explore, build, and fight in a vast 2D world. While the single-player experience is undoubtedly captivating, multiplayer adds a whole new dimension of excitement to the game. This article will guide you through the process of setting up a Terraria multiplayer server, enabling you to enjoy the game with friends and other players around the world.

There are three ways to host your Terraria Multiplayer Server. You can host it local, on your own hardware or with a hosting service. With each of these methods, you must first ensure that all players have the same version of Terraria installed. It is crucial to have matching game versions to prevent compatibility issues and enable seamless gameplay.
Host & Play games are started via the regular Terraria application. The first player chooses “Host & Play”, chooses options, and starts the world, becoming the host. Other network or internet players can then join, by choosing “Join” from the multiplayer menu. The big disadvantage of this method is that the world shuts down when the original player leaves the world. This option is normally used for smaller LAN games or to show the game to your friends.
You will need your own hardware to host your server local at your home. Furthermore you will have to follow these steps to set up a Terraria server.
Step 1: Port Forwarding To host a Terraria multiplayer server, you’ll need to configure port forwarding on your router. Follow these general steps
Step 2: Download and Install Terraria Server Software
Step 3: Configure the Terraria Server
Step 4: Run the Terraria Server
Step 5: Connect to the Terraria Server
Step 6: Inviting Friends to Join To invite friends to your Terraria server, share your public IP address (you can find it by searching “What is my IP” on Google) along with the port number (default is 7777). They can follow the same steps mentioned in Step 6 to connect to your server.
To host a Terraria server at Pockethost, you need to follow these steps:
That’s it! You have successfully hosted a Terraria server at Pockethost. Enjoy playing with your friends online!
Setting up a Terraria multiplayer server allows you to enjoy the game with friends and other players, fostering a collaborative and exciting gaming experience. By following the steps outlined in this guide, you can easily create your own server and embark on memorable adventures in the enchanting world of Terraria. Gather your friends, set up the server, and let the multiplayer fun begin!

Setting up your FiveM server has never been easier. Follow this step-by-step guide to configure your server, set up txAdmin, and get started quickly.

Effortlessly automate your game server with schedules. Learn how to set up Cron timings and assign tasks like sending commands, restarting, or creating backups for seamless server management.

Want to continue your progress on your Farming Simulator 25 server? Here’s how to upload your save game: