How to create your own game server in 4 easy steps

Learn how to create your own game server and customize your gaming experience.

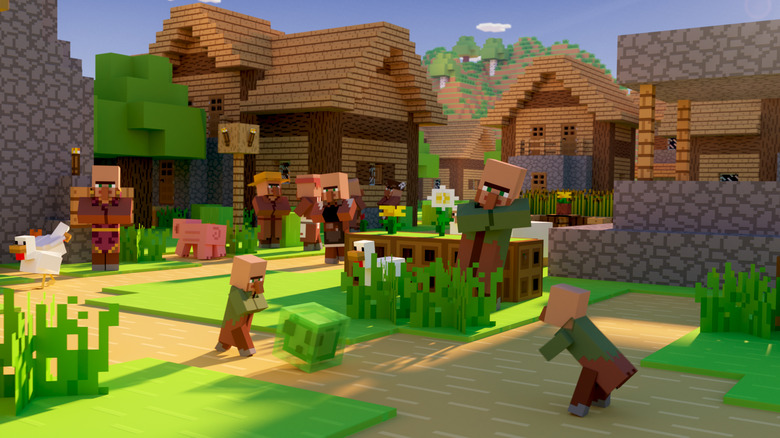
minecraft server

Source: SVG

Follow the steps below to create your own game server and play with your friends:

Before we begin with the server creation in 4 easy steps, you need to download and open the Pockethost App or start the Web App. Then follow our 4 easy steps to your own game server:

  1. Click the button “create server” in the lower right corner.
  2. Choose the game for which you would like to have your own server. There are little icons indicating the platform for the server. Make sure you select the right game version for your platform.
  3. Customize your server.
    First, you can choose your own server address. This is your unique server name which you can use to connect to your server. It’s also referred to as your permanent IP address. With each server start you’ll also see your temporary IP which is typically 8 digits long.
    Then, you can select a server location in the dropdown. We’ll do an automatic ping test and suggest the best location for your server by green highlighting and preselecting it. You can, of course, change it. A yellow icon means the ping is mediocre but ok, a red icon indicates a slow connection.
    Finally, click the “create” button and your server will be created for you. You can know switch through the different tabs of your server details to make further adjustments.
  4. Once your done with your setting, click the green “Start” button in the right upper corner to start your server for the first time and enjoy gaming!
Server Start Tutorial

Source: Pockethost

Get started with Pockethost

Share with your Friends

Keep Reading